Pages

1/12/2014

Painted bird houses

Pickles and I have decided to have a theme for our January crafts, birds!
Nik asked to paint a bird house so that the birds in our yard could have a home.
The result is adorable, and we are hearing nothing but good things
 from the bird community. 


All of our local craft stores have a great selection of unpainted bird houses.
We found two houses we liked. One has a normal sized bird hole. 


And the other is a double-decker with a mutant tiny pygmy bird hole.
I don't know what sort of super model bird will live in this home. If we don't see any birds move in within a few weeks the hubs will widen that entrance. 


Materials:
Paints
Something to put the paint on - We used paper plates
Hooks for the tops of the birdhouses
shiny, sparkly items


Tools:
brushes or sponge brushes
glue


I gathered some bird house type colors, sponge brushes and paper plates. 


My intention was to place a base color on both houses
before setting Nik free with the paint. 
It occurred to me at one point that the paint choices I made,
looked as if I was painting houses for bird clowns. 


I repainted the clown cottage a more appropriate color.


After the houses dried I gave Nik a
sponge brush, some paint and let him go.


Painting is not really his thing, but Nik was
definitely enjoying the sponge brush.
It helped him make neater designs and cover more area.


Nik kept hearing the birds in the back yard chirping while he was painting.
He insisted,
"Just hold on birdies! Be patient"


I think the paint job Nik did is fabulous.
We let the houses dry for 24 hours.


I decided we needed to add a few things to the houses
to increase the curb appeal. 
I thought that glues and glitters could kill the birds resulting in tons of tiny bird deaths on my hands. I would never be able to sleep at night, so I decided we needed to go organic.
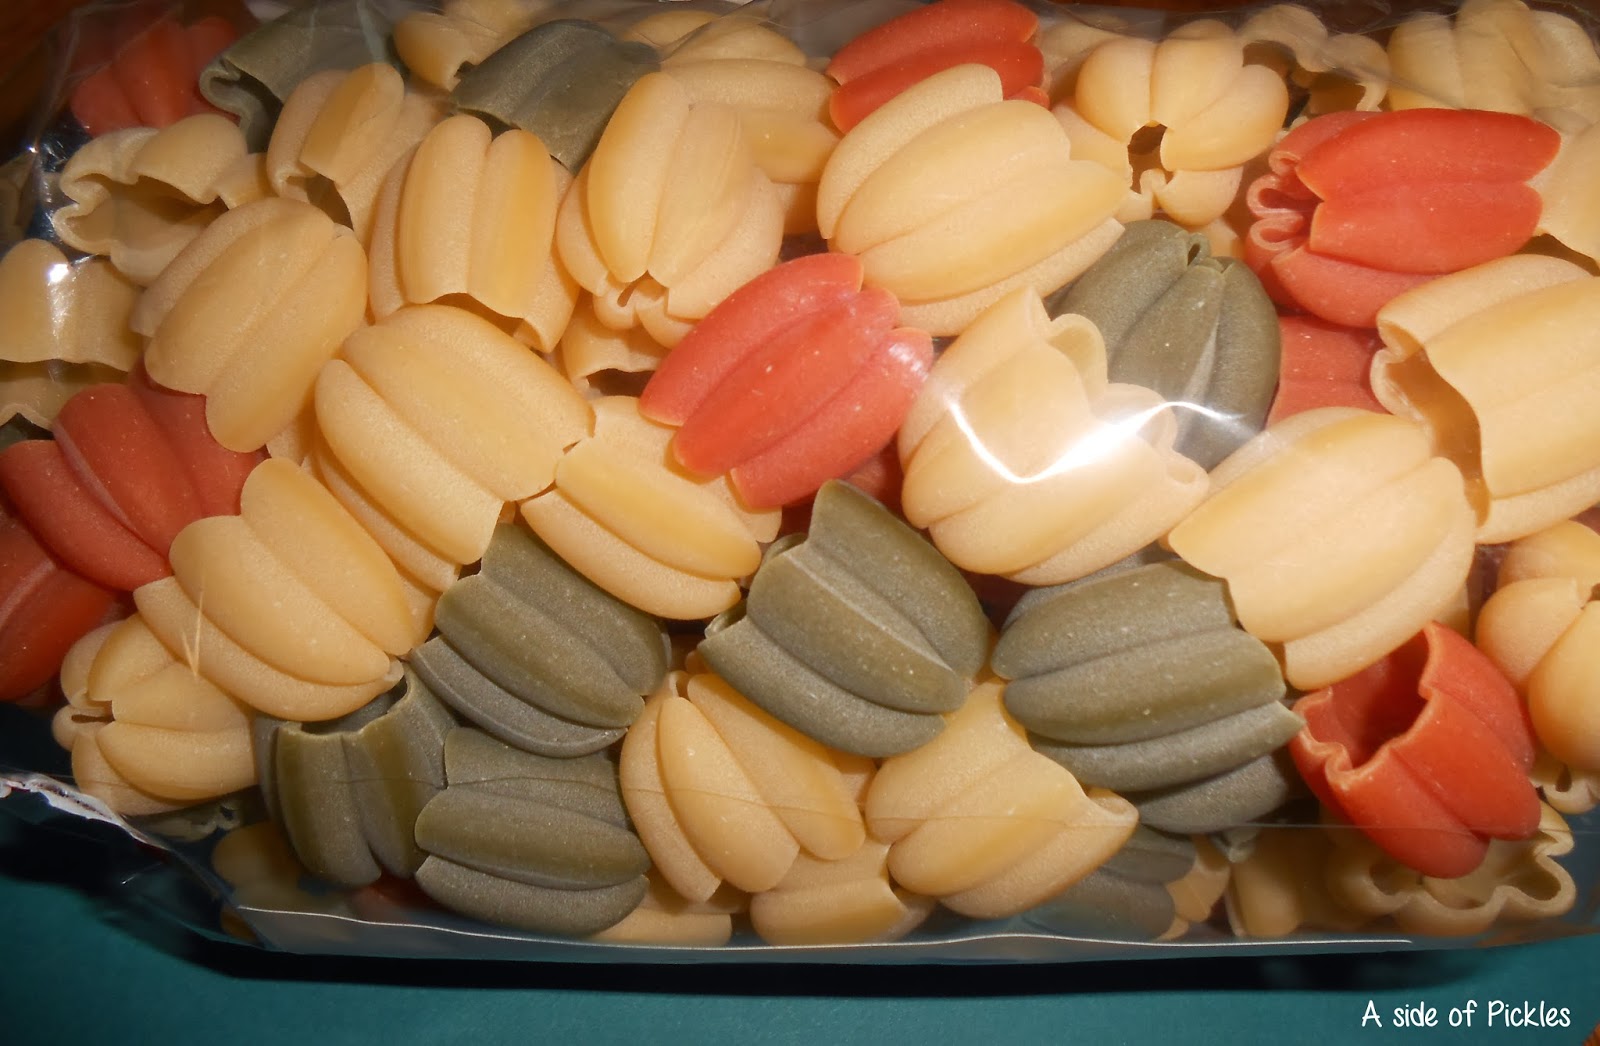
Noodles!


The noodle idea was scrapped after my husband reminded me that I would need to use glue to make the noodles stick, and I didn't want the birds to accidentally eat glue. So we glued inedible objects instead.

I know that birds are attracted to flashy stuff, like me at Target.
So I just brought out a few fake jewels and glass thumbprints.


Nik glued our shiny objects on.
After that we set the houses to the side to dry.


Pickles was super proud of this project, and he really loved doing it. 


 My husband placed a few hooks on the top of the houses
to give us something to hang them with.
We used jute to hang the houses in trees.
 

1/06/2014

Citrus Lane review Dec 2013

I'm just going to come right out and say it, 
Citrus Lane's Dec box was less than stellar. 


Nik was super excited right away. He pulled out the
handprint art kit and handed it to me.


When he saw there was only a book, a paper and some lotion,
Nik was disappointed. 


Sad face.  "no toys?"


Once he noticed that there was a puzzle in the box all was good again.


According to Nik this puzzle is fun,
and he loves that the pieces stand up on their own. 


The book we received is awesome.
This book has become a regular in the nighttime book rotation. 
Pickles thinks it's comical that the moon has arms and legs. 


The hand print art is fabulous.
I'm always looking for new ways to preserve Nik's early years.
I love Pearhead, and am already an owner of many of their photo albums.


Of course we used the hand print kit right away.
We received the box right before Christmas and this made for a beautiful gift.
(I added a little extra periwinkle to the provided blue paint, the color is not a true representation of the color in the kit)


The box also contained a Snuggly lotion.
We have received products from this company in previous box's.
We are fans of their stuff. This lotion has a lovely cherry smell. 


Our overall impression of this box is meh.
Nik loves the puzzle and we enjoyed doing the pearhead print,
but this box lacked the usual pizzazz.


If you would like to try Citrus Lane click here 

12/30/2013

Coffee Filter butterfly's


These coffee filter butterfly's were fun. 
Not only was the resulting craft awesome, 
but it also warranted two costume changes from Pickles.
Jedi robe AND Fire Chief!


Materials:
Coffee Filters
Pipe cleaners

Tools:
Markers
Water in a spray bottle
Masking tape (not pictured, he was shy)


I flattened out the coffee filters and provided Nik with markers. 


This part is definitely not where the fun I mentioned earlier comes in. 

Nik was only on board with this craft
because he understood that spraying water was one of the steps.
Once he realized that spraying water was step 2 in this process, he became bored quickly with coloring the filters.


Pickles explained to me that he had colored one filter
and he believed we should move on to spraying water at this point.


With the vigor and excitement Nik displayed over spraying water onto coffee filters, you would believe this part of the craft to be face melting awesome!


It occurred to me that perhaps I needed to tape the filters down, this would prevent Nik from having to hold them and color them at the same time.
Nik agreed that this was a good plan.


Coffee filters are fragile, but I knew that I could pull the
 masking tape off wet and all would be good (and it was, just FYI). 
Nik changed into his second outfit of the night,
fire chief, while I taped the filters down.
Nik finished getting a little color on each filter and we started spraying.


Nik discovered that if he sprayed his hand, water would drip off onto the filters.
It was creating a great smear effect.


Pickles finished spraying the filters and we set them on a towel to dry.


 Once dried I pinched the middles of two filters
 and placed them in to a folded pipe cleaner.
I pushed both filters down and twisted the pipe cleaner to hold
the butterfly body in place. 


The length and design of your butterfly antenna is a personal choice,
and one you must make for yourself.
Nik and I like the curly-Q version the best.


Nik and I thought his butterfly's turned out beautifully.  


Our cat Nougat was unimpressed.

12/11/2013

Paper bag advent calendar


Christmas!  I love it. 
The family aspect is the best part, 
I just love doing Christmas stuff with my favorite people.


Last year Nik was still little so we started him off with the old standby advent calendar, paper type with flapped windows. 

With candy inside of course. 
This year I wanted to try something different.  
And cheap


Materials:
Jute
Brown paper sandwich bags
Colored paper (only one sheet needed)
Candy and/or presents
Glue (not pictured)

Tools:

Hole punch
Scissors
A circle item to trace
Printer (not pictured)


I used Jute to attach the bags to my fireplace, 
but you can really use any material you want to hang this. 
Ribbon, yarn, rope, fishing line.. 
You could even go completely off the rails and use clothes pins to hold the bags to the line instead of looping the rope through holes.


I used word to create one sheet that contained the numbers 10-24. 
I obtained a small circle from Niks play dough set, and traced circles around the numbers.  I cut them out and glued them to a piece of green velum I had. 


No, I do not have a circle punch in my supplies and that is why it appears like a drunk monkey was allowed to assist on this project with the cutting part. 


I folded each bag about 100 times to find just the right length when folded
 and cut the rest off. 
This part is not necessary to the ascetics of the bag, however..
I decided the best way to open the bags would be to lovingly rip the bags off of the jute, and a thinner fold is better for lovingly ripping.


I helped Pickles put a cute little reindeer on the Christmas Eve bag so he would know it was special.


I lined up the bags and filled them with the M&M's and gold coins. 
In the 23rd and 24th bag I put a special M&M ornament and a Santa.


Q: What do you call Santa's helpers? 

A: Subordinate clauses 

That joke has nothing to do with this project, but that one is just funny. 

I folded the tops of the bags down twice and punched two holes in the fold. 
I slipped the Jute through the holes. 


I threaded the jute through all the bags, 
and pushed the bags down the jute.
 Ensuring they were in the proper order and numerical. 


Just a tip. 
Be careful when pulling the jute through the bag holes as they are easily ripped. 
I'm glad the package of brown bags came with more than what I needed. 
I was a bit overzealous a few times and needed replacements. 


We have already opened two bags at this point. 
Nik opens a bag, says "pur-rize!" and immediately dives for the candy.
Pickles and I are both dying to open that reindeer bag, I can't wait!

12/03/2013

Citrus Lane review Nov 2013


I have decided that I did not want 
November's Citrus Lane box to be a "spoiler". 

I almost busted at the seams to blog about this box, but I just could not stand the thought of the surprise being ruined for other families. 

So I waited this time to post.. 


Poor Pickles. 

The box came while I was at work, 
he had to wait all day to discover the contents. 


This box contained:

Build-A-Sandwich from Green Toys

Lunch Tote from Bumkins

Beeswax Crayons & Doodle Pad from Faber-Castell
Organicasaurus Baked Organic Corn snack from Good Boy Organics
Four sets of address labels & free shipping from Tiny Prints


Once he saw there were snacks he 
had to try one before we went any further.


I asked Nik to sit quietly for just a moment so a 
pic could be taken of all the great stuff in his box.
He sat for a sec then declared "done waiting" and went for the snacks. 
He just couldn't take the pressure!


Nik reviewed all the other things available in the box. 


He loved the colors and doodle pad. 

These crayons from Faber-Castell are amazing! 

They are so vivid and blend really well.


The gluten-free snacks were a big hit with Nik! 
It's always difficult to find healthy snacks 
that don't taste like cheese cardboard.


The Build-A-Sandwich from Green Toys 

was by far the winner in the popularity contest.

As soon as Nik pulled it out of the box he said 

"oh cool Burger King!".
This was a great addition to Nik's play kitchen. 

 The safety info did give me a giggle. 
I can understand putting this in the dishwasher, but the microwave? 
Everybody knows plastic sandwiches taste better cold anyways.
 

In addition to all the other wonderful items there is a card from Tiny Prints. 
I have used Tiny Prints in the past and they are pretty awesome. 
The only downside to this offer is you must spend $99 to take advantage.


The bumpkins lunch bag is not pictured because Nik 
insisted it needed to take its place in the kitchen immediately. 
This bag is going to be perfect for toting snacks around. 

Overall we loved this box. A home run for Citrus Lane


If you would like to try Citrus Lane for yourself click the link