Pages

Showing posts with label craft. Show all posts

4/15/2014

Cardboard Fire trucks

I loved this project.
The best part about it was all the children's reactions to the trucks. 


I went to Home Depot and purchased three large cardboard boxes.
I was not about to ask my friend's kids to sit in old garage boxes. Eww.
So I bought some. 

I had to enlist the hubs for this one as a box-cutter was needed, and he is far more proficient with a box-cutter than I am. Or I have a tendency to cut myself, could go either way.


I love when he helps because he always adds a little something
extra, above and beyond what I asked for.
I asked him to cut the tops off of the boxes.
He gave me that, plus as an added bonus windshields AND doors.
I used painters tape on the edges of the boxes for stability. 


I spray painted all of the boxes red.
I will spare you all of the pictures of me in the backyard cursing the wind, the boxes, the neighbor's dog, the spray paint, etc...
I ran into a few speed bumps, most of which were self-inflicted bumps. I neglected to buy a red with a primer. What was I thinking?

I used random thick card stock to make the window templates,
and cut out black and white windows of the two sizes.

I used Modge-Podge to put the windows on as well as the head lights.
The headlights are made out of a yellow construction paper circle.


I put the Modge-Podge on and let it sit. 


 I made the ladders out of tongue depressors.
I glued them in a ladder-like pattern and spray painted those white. 


I wanted to make sure some part of the truck was jazzy in the sun.
My original thought was to use black glitter paper on the windows but that seemed excessive, so I opted for glitter on the hub caps instead.
The hub caps are caps of Gatorade bottlecaps spray painted gray.
Modge-Podge on the tops and sprinkle with a fine glitter.
Press the glitter down...


And Ta-Da!
Twinkle twinkle. 


The "wheels" are little foam circles from the dollar store.
Two circles for a dollar. 


I just glued the caps onto the foam circles.


I used a large stencil to paint the word fire on the back of each truck.
The steering wheels are made from green foam wreaths.
I wrapped a black ribbon around the wreaths and
glued them to the inside of the boxes. 


These were a hit.
The kids were all using their imaginations and having so much fun. 

4/10/2014

Firefighter Birthday party

The firefighter birthday party was awesome!
At least, that is the feedback I received from Pickles.


We had firetrucks! Definitely the hit of the party.
I will have a "how-to" on the firetrucks coming up. 


I was just looking for excuses to put flames on things,
so I made up a few signs just to have a reason to use them.
Well, and of course, I wanted parents to know it was cool if their
child ripped the steering wheel off of one of the trucks.


I found an amazing shop on Etsy that sells unpainted fire trucks.
I placed washable markers and fireman stickers on the table and let the kids color their own favors.


All the kids seemed to really enjoy coloring the trucks.


Even the "big kids".


All of the children got a fireman hat and badge.


And of course, food.
PB&J's with gummy worms and fruit.


I was also serving "fireballs".
Another excuse to use flames on a sign.


I made signs for all of the tables as well. 
I will have pictures in the how-to posts.
The hubs thought it was just hilarious to ask me over and over
What's a "color a take it home?"


The fire truck on the help yourselves sign is sweet.
I stenciled "Fire" on all of the red buckets thinking it would give the
decor that extra firefighting touch. 


Lets stop a moment and talk about paper straws.
They are clearly not made for drinking.The box assured me these were "a stylish alternative to plastic straws".
One would think the whole water + paper = wet mess
concept would have made me think twice about my purchase. 


The firetruck cake was handmade by one of Nik's grandmothers.
She is fabulous and so are her cakes.
Pickles loved it and got to keep the firetruck topper toy afterwards.


Nik received some very generous gifts
 from some awesome people.


Look At Me...  I'm Three


Photography supplied courtesy of Christina Seddon-Meyer

2/07/2014

Letter Fishing

Fishing!
Nik is not exactly sure what one does while fishing, but he does know he desperately wants to do it.
I decided to create an at-home fishing game. 


I picked out 7 different colors of thin foam and free-handed a fish template.
No worries, I won't quit my day job and try to
make a living making perfect fish templates.
My family would starve. 


Materials:
7 foam sheets
Googly eyes (2 for each fish)
Letter stickers
Large piece of paper
Wooden spool
Wooden dowel or rod
String/Jute
Magnets (1 for each fish, 1 large one with a hole in the middle as a "hook")
Hot glue sticks


Tools:
Hot glue gun
Scissors
Blue Crayon


I went through all of my different letter stickers
and located two N, I, K, O, L, A and S's.
What's that spell?!


Nikolas!
Front and back.
A little name fun.


I free-handed a pond as well and colored it


When the hubs heard I was making a fishing pole he insisted it be functional (which didn't turn out, unfortunately).
And that the fishing pole part be left up to a professional.
A professional fake-fishing-pole-maker, and he wanted the job.


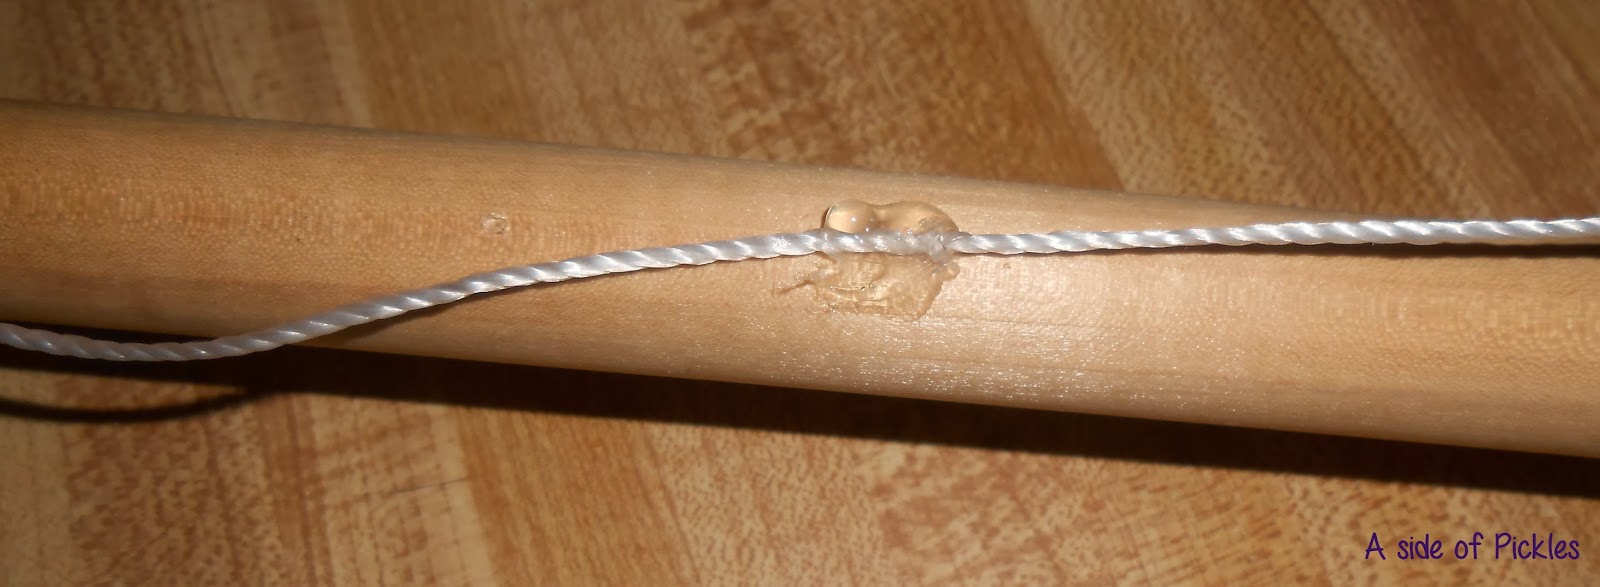
The hubs hot glued a wooden spool and string to a
fishing pole to create the appearance of functionality.


A magnet was tied to the end of the string.


And of course I added some jute over the
hot glued spots to make it look neater.


We set the pond and fish at the bottom
of a staircase and handed Pickles the fishing pole.
He was so excited!


The cat started taking serious interest in our fishing game.
This just expanded Niks fun. 


Trying to catch the fish was fun enough,
but trying to catch fish during an enemy attack
is even more super awesome fun.


The fishing continued for over an hour.
Nik loved catching a fish and announcing the letter on each one.


This craft goes in the major success pile as
there were serious giggles and laughs.
This project is fun even without a cat of your own.
Try it!


1/24/2014

Super hero cuff

Nik's imagination gets bigger everyday.
I love being able to give him "props"
so he can stretch that imagination muscle. 

Currently he is all about superheroes,
and what superhero doesn't have a superhero cuff?


My intention was to make these out of thick felt & Velcro, 
or some other cuff like material.
But it occurred to me that my husband had unused 80's
 wrist bands just going to waste, so I liberated one from his stash. 


Materials:
Sweatband
Felt
Sticker back fabric stars
Fabric letter N for Pickles!

Tools:
Ruler
Pinking shears


How did I know how long to make the felt pieces? 
I just wrapped some felt around the sweatband and eyeballed it. 
Yep, I have a picture of a ruler in my tools list, but I didn't use it once. 


I learned some valuable lessons during this activity. 
First, thin felt stretches in a horrible way. 
After gluing both the felt blue pieces onto the cuff and letting it dry,
 I  pulled on the cuff to check how stretchy 
it was and pulled the darn thing out of shape.


I recovered from the stretchy felt situation and placed the
fabric sticker star and letter N over the felt blue pieces.


When I gave Nik the cuff the next morning he was psyched.
Super psyched!


He immediately ran off to be the mayor of hero town and
 take pictures of himself with his Scout phone.
He loves it! Pickles calls it his superhero wrist band.